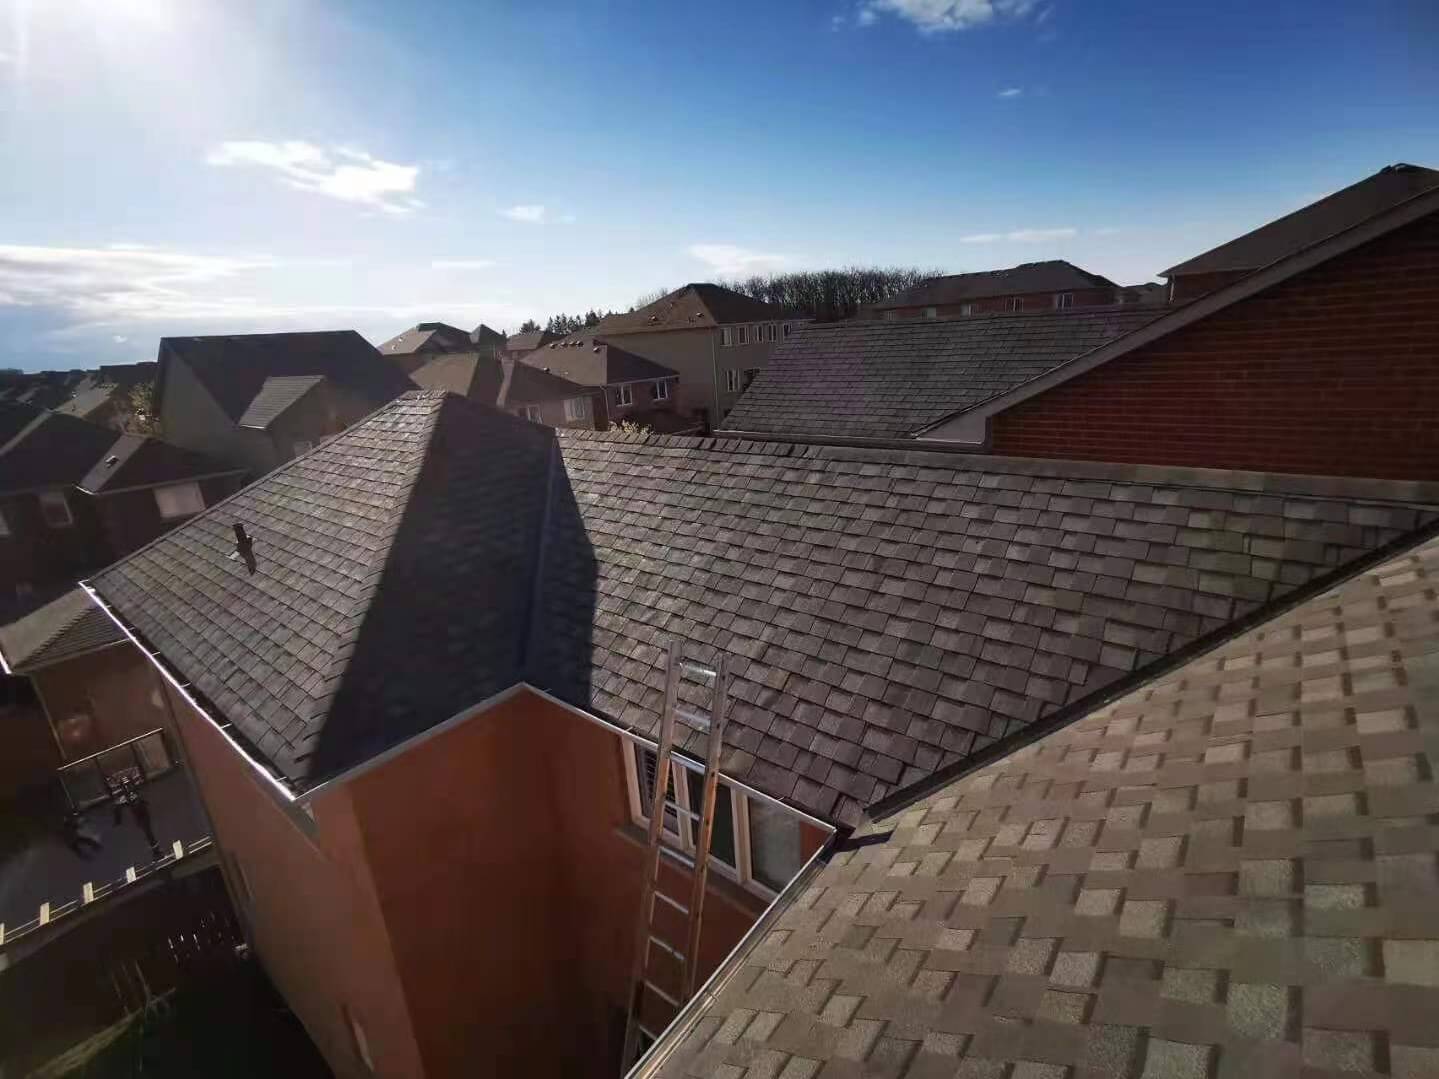
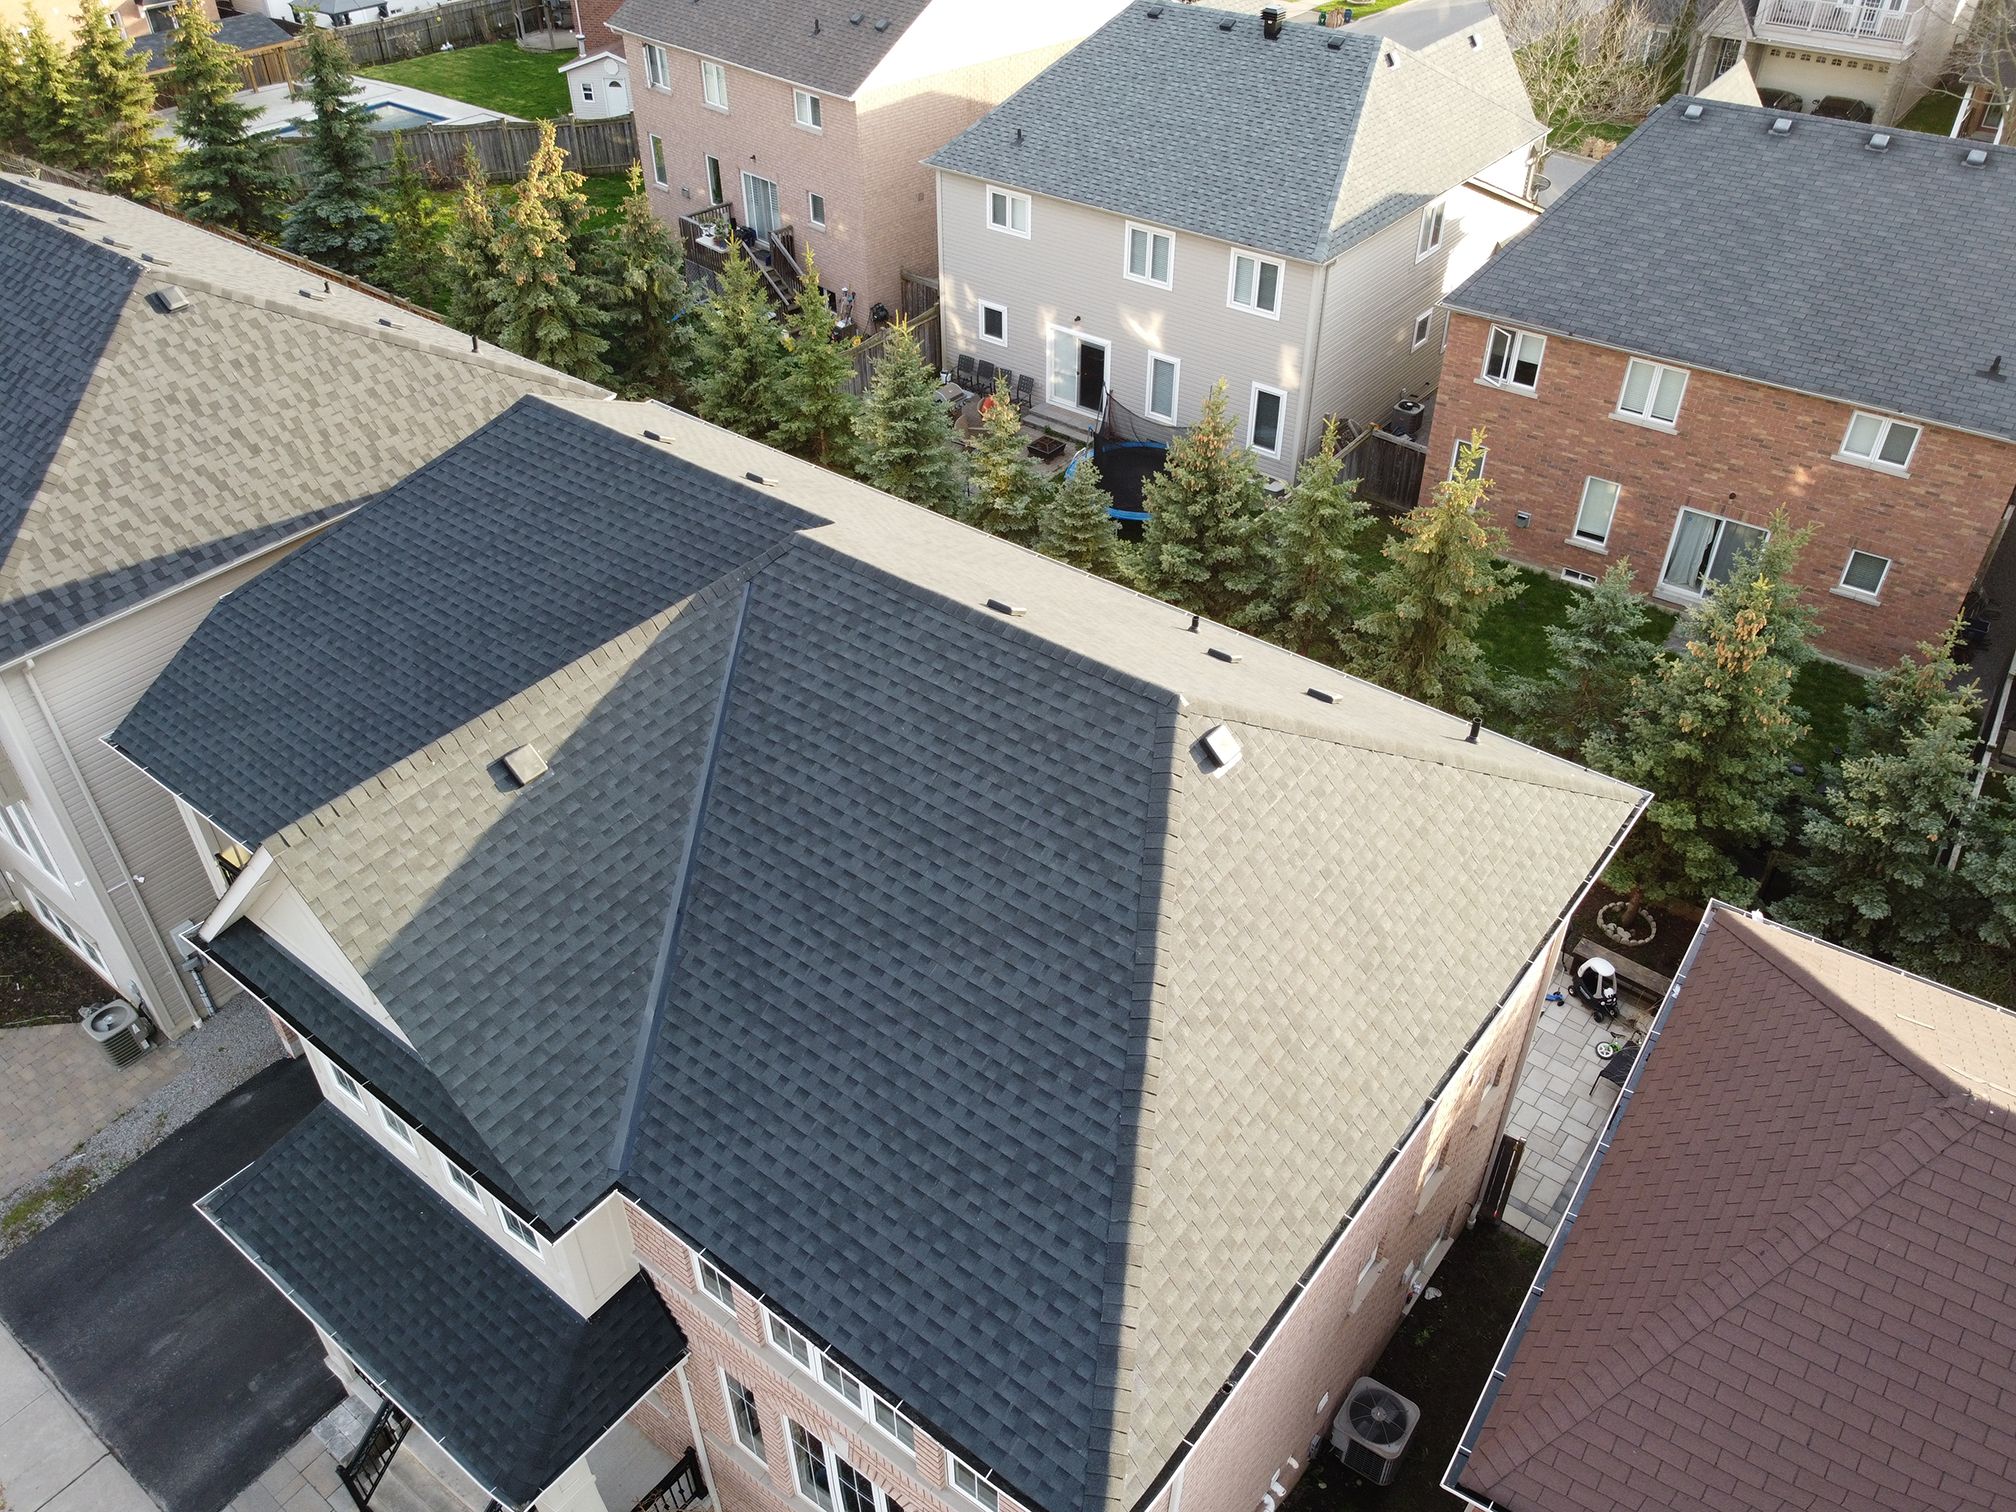
You can stop leaks yourself-no experience necessary. We show you how to track down and fix the most common types of roof leaks. Most leaks take only minutes to repair.
Leaky Roof Overview
If you have water stains that extend across ceilings or run down walls, the cause is probably a leaky roof. Tracking down the leak is the hard part; the roof leak repair is usually pretty easy. We'll show you some simple tricks for finding and repairing most of the common types of leaky roofs. But if you live in the Snow Belt and in the winter you have leaks only on warm or sunny days, you probably have ice dams. We won't go into that roof leak repair in this story. If you have a leaky roof, you'd better fix it immediately, even if it doesn't bother you much or you're getting a new roof next year. Even over a short time, small leaks can lead to big problems, such as mold, rotted framing and sheathing, destroyed insulation and damaged ceilings. The flashing leak that caused an expensive repair bill was obvious from the ceiling stains for over two years. If the homeowner had dealt with it right away, the damage and subsequent repairs would have been minimal.
How to Find Roof Leaks
When you're trying to track down a leak, start by looking at the roof uphill from the stains. The first thing to look for is any roof penetrations. Items that penetrate the roof are by far the most common source of leaks. In fact, it's rare for leaks to develop in open areas of uninterrupted shingles, even on older roofs. Penetrations can include plumbing and roof vents, chimneys, dormers or anything else that projects through the roof. They can be several feet above the leak or to the right or left of it. If you have attic access, the easiest way to track down a leak is to go up there with a flashlight and look for the evidence. There will be water stains, black marks or mold. But if access is a problem or you have a vaulted ceiling, you'll have to go up onto the roof and examine the suspect(s).
A Trick for Finding Difficult Leaks
If a leak is difficult to find, enlist a helper and go up on the roof with a garden hose. Start low, soaking the area just above where the leak appears in the house. Isolate areas when you run the hose. For example, soak the downhill side of a chimney first, then each side, then the top on both sides. Have your helper stay inside the house waiting for the drip to appear. Let the hose run for several minutes in one area before moving it up the roof a little farther. Tell your helper to yell when a drip becomes visible. You'll be in the neighborhood of the leak. This process can take well over an hour, so be patient and don't move the hose too soon. Buy your helper dinner. If running water doesn't reveal the exact location of the leak, don't be timid. Start removing shingles in the suspect area. With them removed, there'll be evidence of the leak and you'll be able to track it down right to the source. You'll see discolored felt paper or water-stained or even rotted wood directly below and around a leaky roof.
Solution for a Small Leak
Some roof leaks are tough to locate. Sometimes the water shows up at a ceiling spot distant from the leak. If your ceiling has a plastic vapor barrier between the drywall and the attic insulation, push the insulation aside and look for flow stains on the plastic. Often water runs to openings in the vapor barrier, such as at ceiling light fixtures.
If you can't see any telltale flow marks, and since the stain is fairly small, look at the underside of the roof for 'shiners.' A shiner is a nail that missed the framing member, in this case when the carpenter nailed the roof sheathing to the rafters. Moisture that escapes into the cold attic from the rooms below often condenses on cold nails. Sometimes you can spot this if you climb up into your attic on a cold night. The nails will look white because they're frosted. When the attic heats up a bit during the day, the frost melts and drips, then the nails frost up at night again and so on. The solution is to simply clip the nail with a side-cutting pliers.
Fix Plumbing Vent Boots
Plumbing vent boots can be all plastic, plastic and metal, or even two-piece metal units. Check plastic bases for cracks and metal bases for broken seams. Then examine the rubber boot surrounding the pipe. That can be rotted away or torn, allowing water to work its way into the house along the pipe. With any of these problems, you should buy a new vent boot to replace the old one. But if the nails at the base are missing or pulled free and the boot is in good shape, replace them with the rubber-washered screws used for metal roofing systems. You'll find them at any home center with the rest of the screws. You'll have to work neighboring shingles free on both sides. If you don't have extra shingles, be careful when you remove shingles so they can be reused. Use a flat bar to separate the sealant between the layers. Then you'll be able to drive the flat bar under the nail heads to pop out the nails.
How to Fix Roof Vents
Check for cracked housings on plastic roof vents and broken seams on metal ones. You might be tempted to throw caulk at the problem, but that solution won't last long. There's really no fix other than replacing the damaged vents. Also look for pulled or missing nails at the base's bottom edge. Replace them with rubber-washered screws. In most cases, you can remove nails under the shingles on both sides of the vent to pull it free. There will be nails across the top of the vent too. Usually you can also work those loose without removing shingles. Screw the bottom in place with rubber-washered screws. Squeeze out a bead of caulk beneath the shingles on both sides of the vent to hold the shingles down and to add a water barrier. That's much easier than renailing the shingles.
Related Article: 12 Roof Repair Tips: Find and Fix a Leaking Roof (Part 2)
Source: Family Handman


