Fix Walls and Dormers
Water doesn't always come in at the shingled surface. Often, wind-driven rain comes in from above the roof, especially around windows, between corner boards and siding, and through cracks and knotholes in siding. Dormer walls provide lots of spots where water can dribble down and enter the roof. Caulk can be old, cracked or even missing between the corner boards and between window edges and siding. Water penetrates these cracks and works its way behind the flashing and into the house. Even caulk that looks intact may not be sealing against the adjoining surfaces. Dig around with a putty knife to see if the area is sealed. Dig out any suspect caulk and replace it with a high-quality caulk. Also check the siding above the step flashing. Replace any cracked, rotted or missing siding, making sure the new piece overlaps the step flashing by at least 2 in. If you still have a leak, pull the corner boards free and check the overlapping flashing at the corner. Often, there's old, hardened caulk where the two pieces overlap at the inside corner.
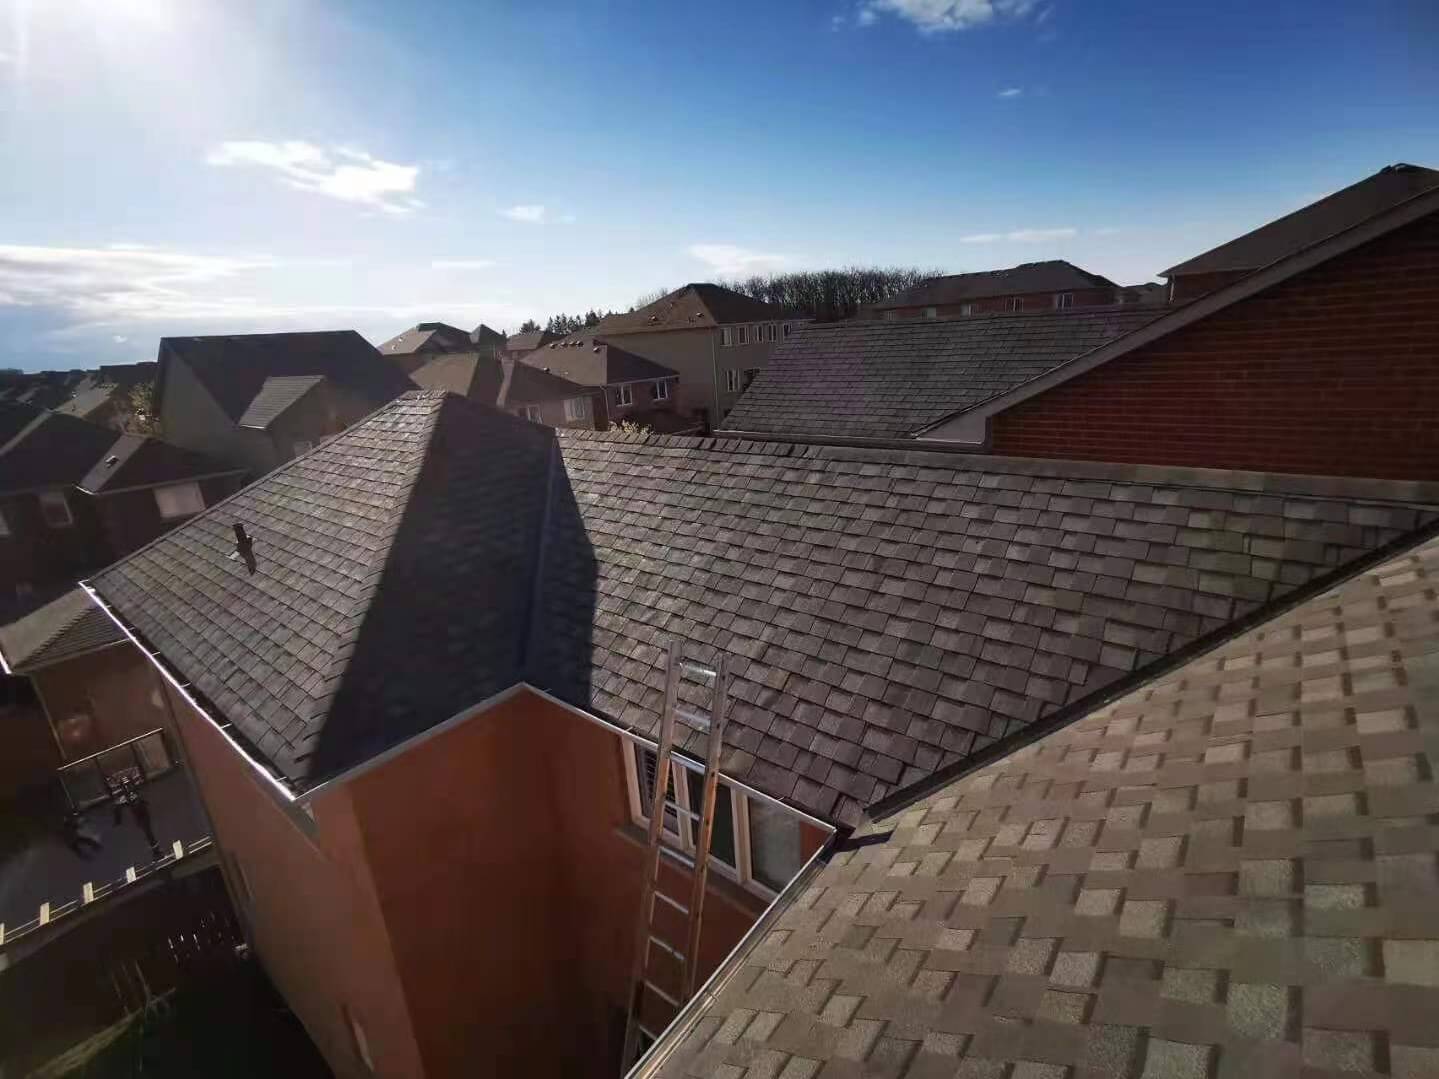
Complex Roof Problem
This roof leaks during the snowy part of winter and during storms in the summer, certainly due to poor flashing. The soffit that meets the roof is one of the toughest areas to waterproof. In the photo, you can still see signs of an ice dam. An ice dam occurs when snow melts and the water freezes when it hits the colder edges of your roof. Eventually, water pools behind the dam and works its way back up under the shingles and under the soffit until it finds an opening through the roof. The solution begins with good flashing since this should stop leaks from rainfall and might stop the leaks from ice dams as well. Begin by removing the shingles down to the wood sheathing and slip a strip of adhesive ice-and-water barrier (available where roofing repair products are sold) under the soffit/main roof joint. Depending on how the roofs join, you may have to cut a slot to work it in far enough. It should overlap another piece of ice-and-water barrier laid below, all the way down to the roof edge. This should cover the most leak-prone areas. Then reshingle, sliding metal step flashing behind the fascia board (the trim behind the gutter). The valley flashing, laid over the joint where the two roofs meet, should overlap the step flashing at least 2 in. If leaks continue to occur from ice dams, consider installing roof edge heating cables. (Find them locally at hardware stores or home centers.) Improved attic insulation and ventilation are usually the best ways to prevent ice dams, but they might not be effective in this complicated leaky roof situation.
Fix Step Flashing
Step flashing is used along walls that intersect the roof. Each short section of flashing channels water over the shingle downhill from it. But if the flashing rusts through, or a piece comes loose, water will run right behind it, and into the house it goes. Rusted flashing needs to be replaced. That means removing shingles, prying siding loose, and then removing and replacing the step flashing. It's that simple. But occasionally a roofer forgets to nail one in place and it eventually slips down to expose the wall.
Don't Count on Caulk!
Rarely will caulk or roof cement cure a leaky roof —at least for very long. You should always attempt a "mechanical" leaky roof fix whenever possible. That means replacing or repairing existing flashing instead of using any type of sealant as a leak stopper. Only use caulk for very small holes and when flashing isn't an option as a leak stopper.
Fix Small Holes
Tiny holes in shingles are sneaky because they can cause rot, a leaky roof and other damage for years before you notice the obvious signs of a leak. You might find holes left over from a satellite dish or antenna mounting brackets or just about anything. And exposed, misplaced roofing repair nails should be pulled and the holes patched. Small holes are simple to fix, but the fix isn't to inject caulk in the hole. You'll fix this leaky roof problem with flashing.
Leaks Around Brick Chimneys
All kinds of bad things can happen around brick chimneys. In fact, there are far too many to cover in this story. Flashing around chimneys can rust through if it's galvanized steel, especially at the 90-degree bend at the bottom. A quick but fairly long-term fix is to simply slip new flashing under the old rusted stuff. That way any water that seeps through will be diverted. The best fix, though, is to cut a saw kerf into the mortar and install new flashing.
Related Article: 12 Roof Repair Tips: Find and Fix a Leaking Roof (Part 1)
Source:Family Handman